Storing MP3 Audio Files from the Card Browser
AwesomeTTS can generate many audio files for the notes of the cards you select in the browser.
This method, along with the note editor method, will store the generated audio files with your Anki collection, inserting [sound] tags into your note fields. These tags are understood natively by all versions of Anki, and once generated can be played back even without AwesomeTTS. If you do not study outside of the desktop version of Anki, the on-the-fly method or the on-demand presets method might be easier.
Instructions
- From the card browser, highlight the cards whose notes for which you would like to generate audio.
- From the “AwesomeTTS” menu, select “Add Audio to Selected”.
- Select your desired service and configure any options.
- Type a sample phrase and then click “Preview” to confirm that your audio is as you would like it to sound.
- Select the source field from the dropdown menu that you would like AwesomeTTS to read from.
- Select the destination field from the dropdown menu where you would like AwesomeTTS to store the [sound] tag (or path).
- Indicate whether you would like to append or overwrite this field with the result. If you want to keep the text you already have, select append. If you want to remove the text entirely and replace it with the sound, choose overwrite.
- If appending, you may choose to add additional [sound] tags rather than cleaning up old ones by unchecking the “remove existing” option.
- If overwriting, you may choose to store the bare path to the audio rather than the [sound] tag by unchecking the “wrap the filename” option.
Please note that the option to use bare paths is for backward compatibility with older versions of the add-on and its use is not encouraged. Anki cannot automatically detect media files as in-use if you use bare paths.
- Click “Generate” to begin processing. You can cancel processing mid-batch if you need to.
Hints
- If you want to play the same audio on both the front and back sides of your cards, one way to do this is to add a dedicated
Sound or TTS field to your note type, add that field to both sides of your template, and then use that new field as the destination field. - If one of the cards’ note in your selection does not have both the source and destination field as specified, it will be skipped.
- AwesomeTTS can automatically filter out certain text while processing your notes, like text within parentheses. How it handles cloze deletion placeholders can also be adjusted depending on your needs. To see these settings, go to the Text tab of the configuration screen.
- If you make a mistake, you can undo your batch update by going to the Edit menu and selecting the Undo AwesomeTTS Batch Update option.
- Please note that mass generation using most services is rate-limited. By default, AwesomeTTS is very conservative about the number of requests it will send to these services at one time. This rate-limiting is done per-service, so setting up a randomized group of service presets to spread your requests across more than one service is recommended.
- If you want to remove audio from several notes, that can also be handled in the card browser from the menu.
Screenshots
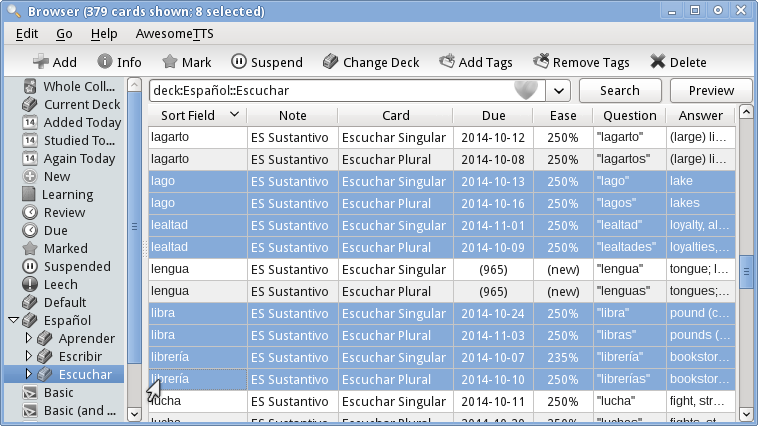 Selecting target cards in the card browser
 Card browser “Add Audio to Selected” menu item
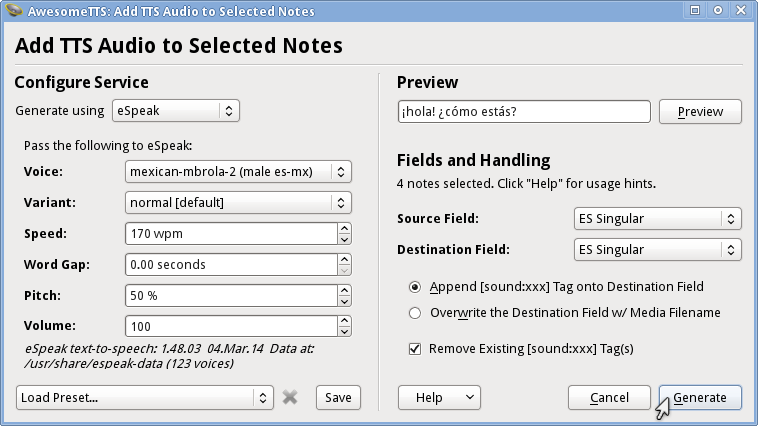 Mass generator dialog
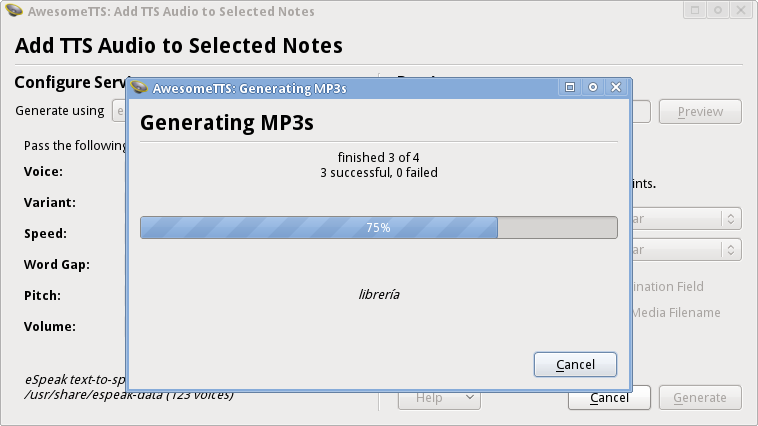 Mass generator progress screen
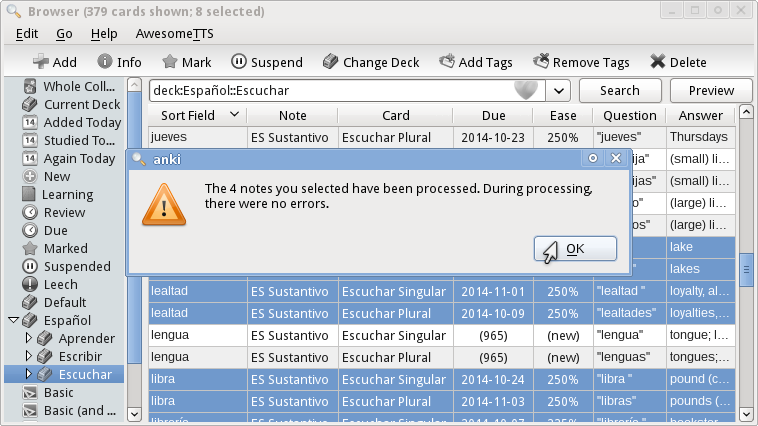 Confirmation dialog
![Example note with a new [sound] tag in one of the fields](/usage.browser.yield.png) Example note afterward
Example note afterward